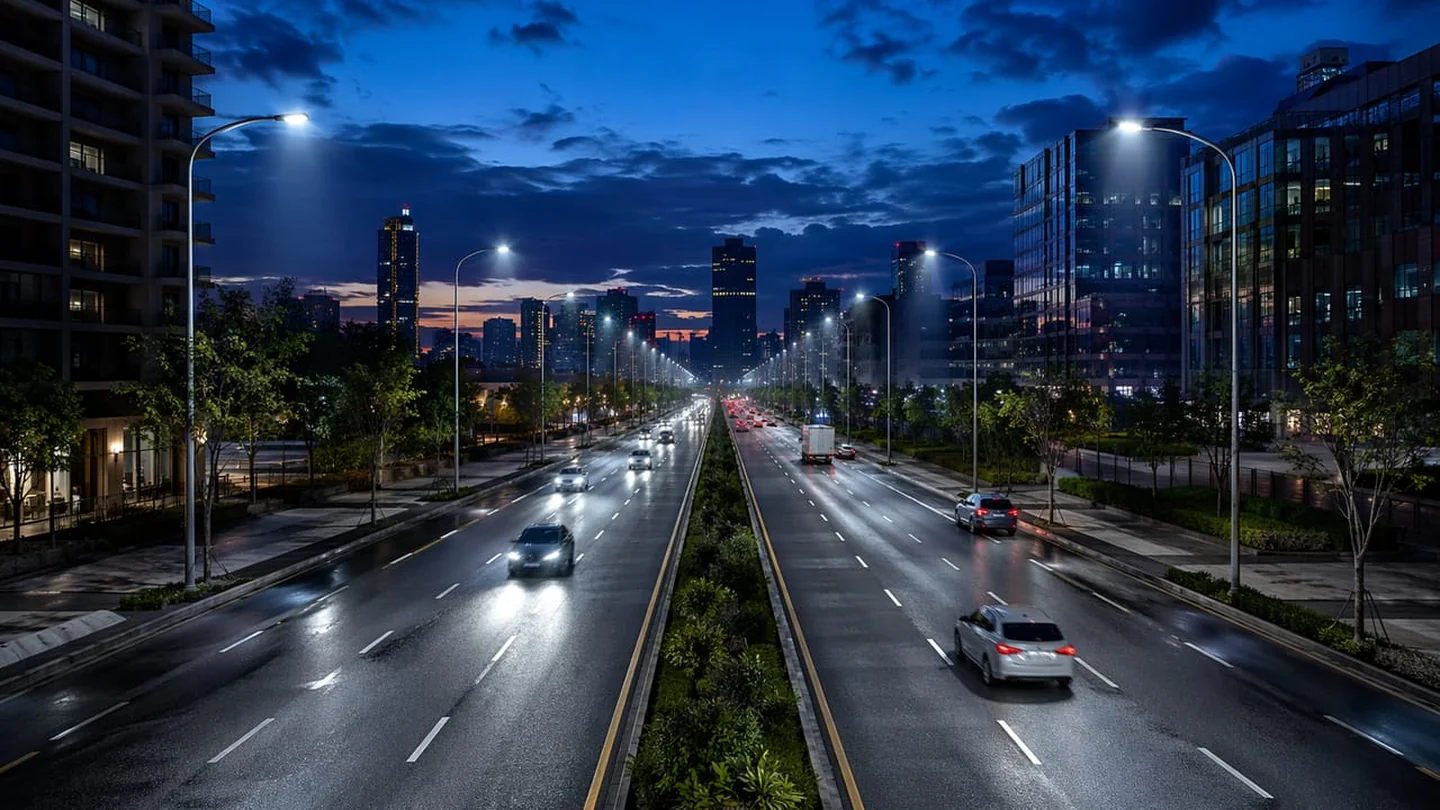
Almost every street lighting enquiry we receive opens the same way: “Please quote 100W LED street lights.” It is a reasonable-sounding request that skips the only question that actually determines whether the road will pass its lighting class — because wattage does not light a road. Optics do.
The same 100 W behind a narrow forward-throw lens and behind a wide symmetric lens produce completely different roads: different pole spacing, different uniformity, different spill into the houses along the verge. Get the optic right and you can often hold the class with fewer poles and less connected load. Get it wrong and no amount of extra wattage rescues the layout — it just raises the bill and the glare together.
This guide runs the selection in the order that produces a defensible purchase: road class, geometry, optic, then wattage, then the build and control details that decide whether the asset survives its twenty-year life.
Key Takeaways
- The optic decides the road. Type II, III and V distributions serve different geometries; specifying wattage without distribution leaves 20–30% of the budget on the table.
- Pole spacing is a result, not an input. It falls out of mounting height, distribution and the class you must hold — typically 3.5–4 × mounting height.
- 100–120 W of quality LED is the standard, repeatedly verified replacement for a 250 W HPS street light.
- Surge protection and driver quality decide service life on the most electrically exposed asset a municipality owns. Specify 10 kV class on exposed feeders.
- Buy the control receptacle even if you skip the controller — a NEMA or Zhaga socket costs little at manufacture and keeps every smart-city option open for decades.
Why the Optic Decides the Road
A street light is a redistribution machine. The LEDs produce lumens; the lens decides which of those lumens land on the carriageway, which land on the footpath, and which are wasted on the sky and the neighbours’ bedroom windows.
Roadway optics are classified by distribution type, and three cover most of municipal practice:
| Distribution | Shape | Where it fits |
|---|---|---|
| Type II | Long, narrow oval thrown forward | Narrower roads, paths, poles close to the carriageway edge |
| Type III | Wider forward throw | The municipal workhorse — collector and distributor roads |
| Type V | Symmetric, circular | Central poles in plazas, intersections and parking areas |
Type II and III are asymmetric: they throw light forward onto the road while the fixture body stays near-horizontal. That is what lets a street light illuminate the carriageway without tilting its aperture toward the horizon — which is simultaneously how light trespass and sky glow are controlled. A symmetric fixture tilted to reach across the road does the opposite: it throws a share of its output straight into the distance, where it becomes glare for drivers and complaints from residents.
Step 1: Start From the Road Class
Before any fixture is considered, the road gets a class. EN 13201 — the European standard used as the de facto global reference — sorts roads into M classes for motorised traffic (specified in road-surface luminance), C classes for conflict areas like junctions, and P classes for pedestrian and residential areas (specified in lux).
| Road type | Typical class | Mounting height | Wattage band |
|---|---|---|---|
| Residential street | M5–M6 / P3–P4 | 6 – 8 m | 30 – 60 W |
| Collector / distributor | M4–M5 | 8 – 10 m | 60 – 120 W |
| Arterial road | M3 | 10 – 12 m | 120 – 200 W |
| Highway / dual carriageway | M1–M2 | 12 m | 200 – 300 W |
| Interchange / large yard | High mast | 20 – 40 m | Project-specific |
Those wattage bands scope a budget. They do not size a design — the binding figures are average luminance, overall and longitudinal uniformity, and glare, all of which come from a calculation rather than a table. Our EN 13201 design guide walks the full method with a worked collector-road example.
Step 2: Fix the Geometry
Four geometric variables set what any fixture can achieve, and they interact:
Mounting height scales spacing almost linearly. A useful rule: mounting height should be at least the width of the lit carriageway for single-side arrangements.
Arrangement follows road width — single-side where the road is no wider than the mounting height, staggered up to about 1.5 × height, opposite for wide roads, and twin-central on dual carriageways with a median.
Overhang positions the photometric centre near the carriageway edge line. Too much overhang darkens the footpath; too little wastes light behind the pole.
Spacing is the output of the other three, not an input. Expect 3.5–4 × mounting height with a quality optic — a 9 m pole on an M4 collector road commonly lands at 32–36 m.
Step 3: Now Size the Wattage
With class, geometry and distribution settled, wattage becomes arithmetic rather than guesswork — and it is usually lower than the enquiry assumed.
The most common conversion in municipal work is the HPS replacement, and it has been verified across enough networks to be dependable: 100–120 W of quality LED replaces a 250 W HPS street light, typically matching or improving road luminance while cutting energy by more than half. The gain comes from two places: directional optics that put light on the carriageway instead of scattering it, and stable lumen maintenance that does not collapse the way discharge lamps do between relamping cycles.
| Existing HPS | LED replacement | What improves besides energy |
|---|---|---|
| 70 W HPS | 20 – 30 W | Colour rendering, instant start |
| 150 W HPS | 50 – 70 W | Uniformity, reduced spill |
| 250 W HPS | 100 – 120 W | Luminance held with better maintenance factor |
| 400 W HPS | 150 – 200 W | Glare control, no restrike delay |
Treat these as scoping figures. A one-for-one swap inherits the old installation’s pole spacing and aiming, which was designed around a different distribution — which is exactly why a fresh calculation often reveals that fewer or smaller fixtures light the road better.
Step 4: Specify What Decides Service Life
A street light is the most electrically exposed asset a municipality owns: at the end of a long feeder, on a metal pole, outdoors, for twenty years. Four specifications decide whether it survives.
Surge protection. Lightning and switching transients travelling the feeder are what kill street lights, not LED wear. Specify 10 kV class as the floor on exposed runs; confirm the rating is on the driver, in writing, rather than assumed from the brochure.
Driver quality. The driver, not the LED, is the service item. Ask for the surge rating, the operating temperature range, and whether replacement drivers are stocked for the years ahead. On a network of thousands of poles, driver availability in year six is worth more than two lm/W at purchase.
Ingress and impact. IP65 is the sensible floor for a sealed optical chamber, with IP66 where coastal salt or heavy washing is in play. Impact rating matters where vandalism or debris is a factor.
Thermal design. The die-cast body is the heat sink. Efficacy claims mean little if the fixture runs a hot junction — the ambient rating needs to cover the real worst-case at the fixture, not the annual average.
Across our own SJLD street light range — eight named series spanning 20 W to 480 W — these are the specifications that vary by series, and they are the ones a tender should name explicitly rather than leaving to the supplier’s default.
Step 5: Buy the Control Socket Even If You Skip the Controller
This is the cheapest future-proofing available in street lighting, and it is routinely skipped.
A NEMA 7-pin receptacle (ANSI C136.41) or a Zhaga Book 18 socket costs very little at manufacture. Fitted, it means the luminaire can accept a simple dusk-to-dawn photocell today and a networked smart-city controller in ten years — metering, midnight dimming, fault reporting — without touching the luminaire or the wiring.
Two conditions make it useful: the socket must be paired with a dimmable driver (0-10V or DALI), or the low-voltage control pins have nowhere to go; and a shorting cap must be fitted where no control is installed. Networks that skipped the socket to save a few units of cost end up paying for luminaire replacement when the control strategy arrives.
The Tender Checklist
Before a street lighting order is placed, the file should contain:
- The road class and cross-section — width, lanes, footpaths, pole positions available, surface type.
- The photometric calculation — average luminance, Uo, Ul and TI against the class, built from the actual fixture’s IES/LDT file.
- The distribution specified by type, not just wattage — Type II, III or V, matched to the geometry.
- Electrical specification — surge rating, driver type, dimming protocol, voltage range.
- The control interface — NEMA or Zhaga socket, or a written decision not to fit one.
- Build specification — IP and impact ratings, housing material, finish for the local environment.
- Spares and warranty terms — driver availability, warranty period, and who pays freight on a claim.
A supplier who returns a quotation against all seven is competing on engineering. One who returns a price against a wattage is competing on something else.
The Bottom Line
Street lighting rewards the specifier who resists the wattage question long enough to answer the geometry one. Classify the road, fix the height and arrangement, choose the distribution that matches, and let the calculation hand you the wattage and the spacing. Then spend the specification effort where the twenty-year cost actually lives: surge protection, driver quality, and a control socket that keeps the network’s options open.
Send us the road cross-section and the class you need to hold, and our engineers return the roadway calculation with the spacing, the fixture schedule and the IES files behind it. The 100W LED street light covers the collector and distributor road band most municipal tenders start from — so the design is verified before the commercial conversation gets serious. For off-grid stretches where trenching a feeder is uneconomic, the same discipline applies to solar street lights, sized from the worst-month sun rather than a brochure runtime.
FAQ
How do I choose the wattage for an LED street light? Work backwards, not forwards. Fix the road class, mounting height and arrangement first, choose the distribution type that matches the geometry, and let the photometric calculation return the wattage needed to hold the class. Typical outcomes: 30–60 W for residential streets on 6–8 m poles, 60–120 W for collector roads on 8–10 m poles, 120–200 W for arterials on 10–12 m poles.
What LED wattage replaces a 250 W HPS street light? 100–120 W of quality LED is the standard replacement, generally matching or improving road luminance while cutting energy by more than half. The saving comes from directional optics and stable lumen maintenance. Validate with the IES file at your actual pole spacing rather than relying on the equivalence alone, particularly if the original HPS layout was already marginal.
What is the difference between Type II, Type III and Type V distribution? Type II throws a long narrow pattern forward and suits narrower roads with poles close to the carriageway edge. Type III throws wider and is the standard choice for collector and distributor roads. Type V is symmetric and suits central poles in plazas, intersections and parking areas. Matching the type to road width and pole setback is what allows wider pole spacing at the same wattage.
How far apart should street light poles be? Typically 3.5–4 × mounting height, so 9–10 m poles commonly land at 32–40 m spacing. But spacing is an output, not an input: it depends on the optic, the arrangement, and the class being held. A narrower distribution and greater mounting height allow wider spacing; a poor distribution can cost 10 m of spacing at identical wattage.
Do I need a NEMA or Zhaga socket if I am not installing smart controls? It is worth fitting anyway. The socket costs little at manufacture and lets the network add photocells, dimming or a smart-city controller later without replacing luminaires. Pair it with a dimmable driver so the control pins are usable, and fit a shorting cap where no control is installed.
What surge protection do street lights need? 10 kV class is a sensible floor for fixtures on exposed feeders, and transient damage — not LED wear — is what typically ends a street light’s life. Confirm the rating in writing as part of the driver specification. On coastal or storm-prone networks, higher protection and a documented replacement path for surge devices are worth specifying.
Is EN 13201 mandatory outside Europe? It applies wherever the contract or municipality invokes it, which is common worldwide — tenders across the Middle East, Africa, Asia and Latin America routinely cite it even without legal force. Elsewhere it functions as the de facto engineering reference alongside local codes. Either way, it gives buyer and supplier a shared, checkable definition of what “adequately lit” means.